
Strict Quality Assurance
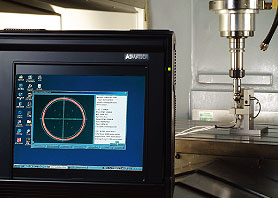 Inspection on Dynamic Characteristics of the High Speed Spindle
The test and probe are undertaken under different rotational conditions of the high speed spindle. The scope of inspection includes dynamic balance, vibration, noise, temperature rising, thermal variation and run-out precision and so on. It aims to ensure the high speed spindle at optimal status with excellent functioning.
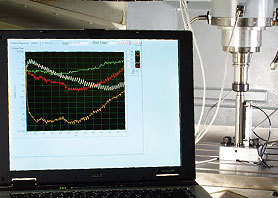
Spindle Thermal Variation Probe & Compensation Function (Opt.)
Machining centers during operation are affected by internal thermal source, such as power and spindle rotation as well as external thermal source, such as environment temperature. It will generate ‘expansion/contraction effect’ upon the metal and further induce thermal variation as a result. The compensation function AWEA developed can dramatically improve the side effect of spindle thermal variation.
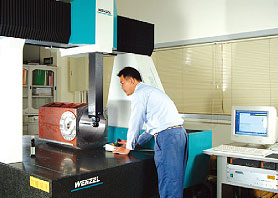 3D Precision Measurement
All of precision parts pass 3D precision measuring test in order to ensure dimension tolerance and geometric precision.
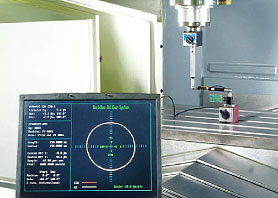
Ball Bar Inspection
3D ball bar inspection aims to make optimal adjustment.
Strict German VDI 3441 standard.
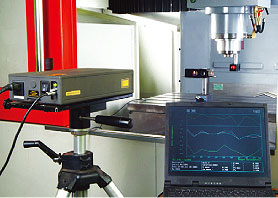 Laser Inspection
Positioning accuracy, repeatability, backlash test and offset.
Strict German VDI 3441 standard. ( 5 times of back and forth running to get the statistics )
